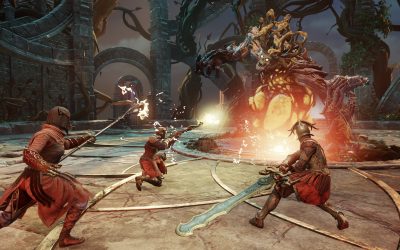
Everything you need to know including drops, boss strategies, and a complete walkthrough of the Hive of Gorgons Raid in New World Aeternum.
Brewmaster
Blunderbuss SnS
Blunderbuss & Ice Gauntlet
(MORTAR) Blunderbuss & Rapier
Blunderbuss & Void Gauntlet
Bruiser (GA/WH)
Life Staff & Rapier
Life Staff & Void Gauntlet
Fire Staff & Ice Gauntlet
SnS & Hatchet
Spear & Rapier
Support Mage (VG/IG)
Great Sword & Great Axe
Great Sword & Blunderbuss
Bow & Hatchet
Musket & Hatchet
Void Gauntlet & Blunderbuss
Mortar Blunderbuss
Armor Guide
Buffs Debuffs and DoTs
Camp Guide
Crit Chance & Crit Damage
Combat Trophy Guide
Corrupted Breach Guide
Consumables
Equip Loads
Faction Guide
Fast Travel Guide
Housing Guide
How to Increase Storage Capacity
Luck
Perks and Perk Labels
Salvage & Repair
Territories & Settlements
Timeless Shards
Trade Skill Aptitude
Weapon Perks & Their Crafting Mod
Check out our Interactive Map with custom placed nodes for gathering and more!
Everything you need to know including drops, boss strategies, and a complete walkthrough of the Hive of Gorgons Raid in New World Aeternum.
Everything you need to know including drops, boss strategies, and a complete walkthrough of the Glacial Tarn Expedition in New World.
The New World Developer Q&A happened on April 29th, 2024. There were many things discussed, and this article outlines all of it.
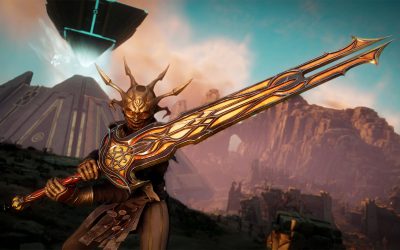
This is a New World Great Sword PvE DPS Build guide. This guide covers all of the gear, consumables, and more you’ll need to run the build.
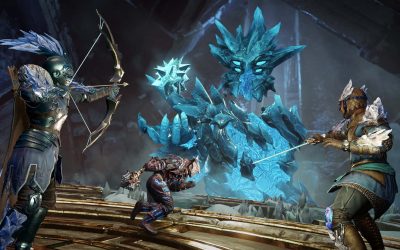
The Winter Rune Forge is a 10 man trial in New World. This guide will walk you though everything you need to know to complete the trial.
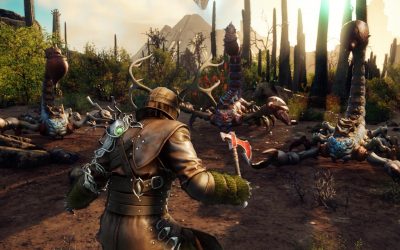
This is a New World Butcher Spear PvE DPS Build guide. This guide covers all of the gear, consumables, and more you’ll need to run the build.